Set Default GPU for Apps in Windows 10
Generally, the integrated GPU (IGPU) is more power efficient, while the discrete GPU is better for demanding games and graphics-heavy applications. So if you’re looking to maximize performance without compromising on power efficiency, you’ve come to the right place. That’s because in this tutorial, we’ll show you how to set a preferred GPU for specific apps in Windows 10.
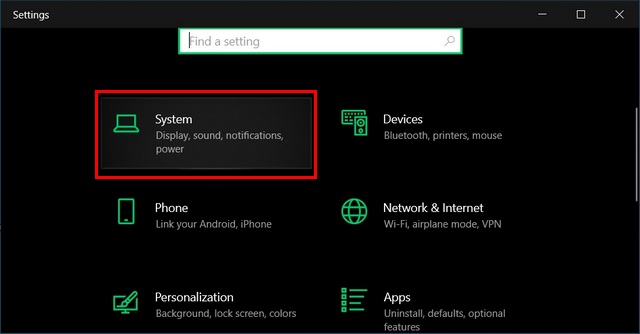
Press Windows key+I simultaneously to open your PC Settings. Now click on ‘System’.
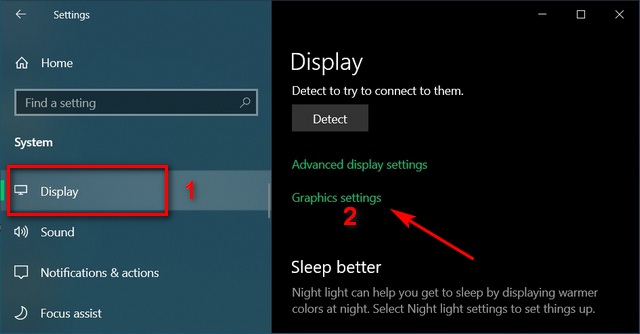
Next, click on ‘Display’ on the left pane and select ‘Graphics settings’ on the right side.
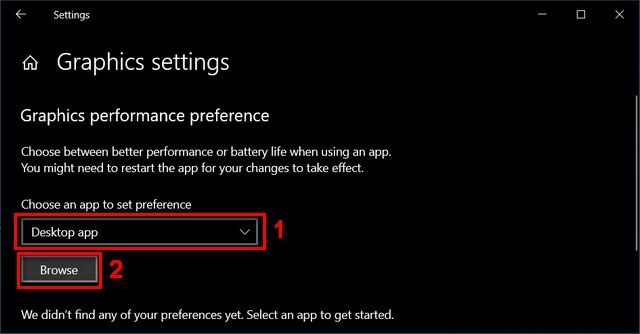
From the drop-down menu, select whether you want to specify settings for desktop (classic) apps or Microsoft Store apps. For desktop apps, you’ll have to click on the ‘Browse’ button to manually specify the executable file of that app.
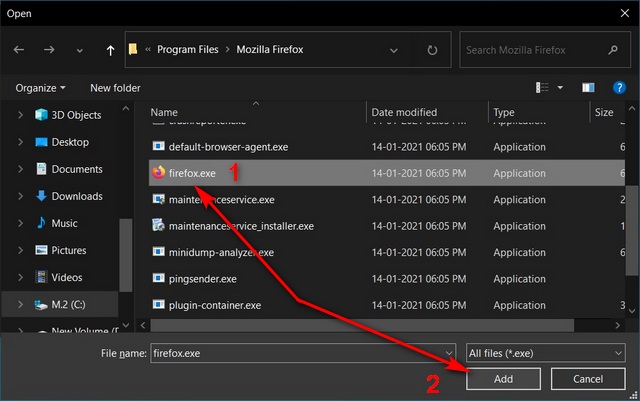
Navigate to the program’s installation directory. Now select the .exe file for that application and click on ‘Add’.
Note: The default installation directory for 64-bit applications in Windows 10 is C:\Program Files, while the default for 32-bit applications is C:\Program Files (x86). Before we tell you how you can set or change the default graphics card in Windows 10, here’s how you can select a Microsoft Store app:
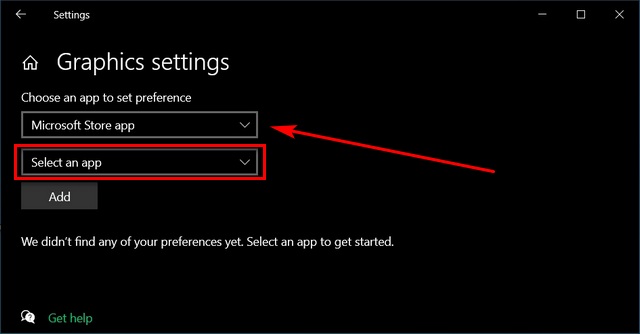
From the drop-down menu in step 3, select ‘Microsoft Store App’ instead of ‘Classic/Desktop app’. You’ll immediately get a second drop-down menu.
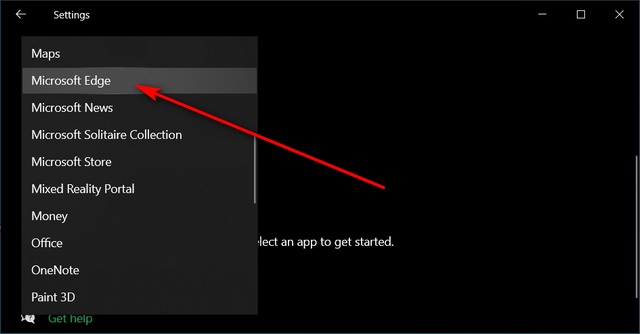
From the second drop-down menu, select the app that you’re trying to set the GPU preference for.
Once you’ve selected the app, click on ‘Add’.
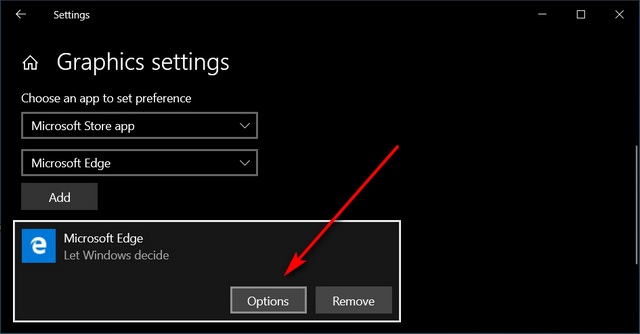
Once you’ve added the app, click on the ‘Options’ button in the box that appears.
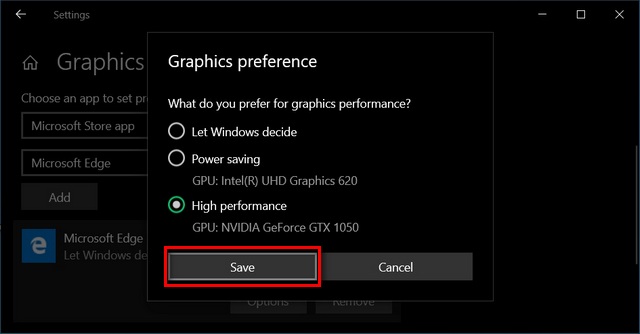
You’ll get three options for the preferred GPU:
Choose the option you want and remember to click on the ‘Save’ button once you’ve taken your pick.
That’s it. You have now successfully specified which GPU your Windows 10 computer should use for a particular app. Restart your PC for the changes to take effect.
List of Popular GPUs
The method described below works for all modern graphics processors, so you can use it to set your preferred Nvidia or AMD card as default for any app in Windows 10. We have mentioned a list of popular GPUs below. Note that this is not an exhaustive list and is here to only serve as an example.
Choose Your Preferred Graphics Processor for Apps on Your Computer
Using the method above, you can set your default graphics card preference (either Nvidia or AMD) for any number of apps in Windows 10. Starting with build 20190, Windows 10 is also letting users specify graphics cards on a per-application basis for even more granular control. It was rolled out late last year to Windows Insiders in the Dev channel, so if you are OK with the bugs and the potential instability, you can join the Windows Insider program by clicking through this link. While we’re talking about extracting the best out of your Windows 10 PC in terms of both performance and efficiency, you can also check out our Windows 10 tips and tricks, how to use God Mode and how to use PowerToys on Windows 10 to get even better control of your computer. Also, don’t forget to check out the tools to stress test GPUs so you can check how your GPU stack against the competition.